Did you know that thete is a National about a Musical Instrument Day? Well apparently it’s today! I remember as a child going to the music store and wanting to touch all the shiny instruments on offer.
As much as I loved music and musical instruments, I also remember how unattainable and fragile all of those shiny instruments seemed on the walls of the shop.
Music and instruments don’t need to feel unattainable. In fact, music is a universal language and should be accessible to everyone! This is why, today, instead of buying musical instruments, we are going to make our very own out of materials you probably have lying around your home.
There is no end to the tutorials you can find on the Internet on how to create your own musical instruments. They range from the very simple: drum made out of an empty can or shaker egg made out of an old plastic Easter egg and rice, to the much more advanced and complicated: totally correct xylophone made out of wood or the guitar made out of boxes rubber bands and brackets. Because we are all safe at home, I thought it would be best to go with a tutorial on something that is simple for everyone to do and also only uses materials most everyone probably has in their homes already.
Today we are going to create our very own panflute! You may also know them as a wind flute. You’ve likely seen these before in storybooks such as the Pied Piper or in paintings. Pan flutes are very popular amongst cherubs it would seem.
Here’s what you’ll need: plastic straws, tape, scissors ?? 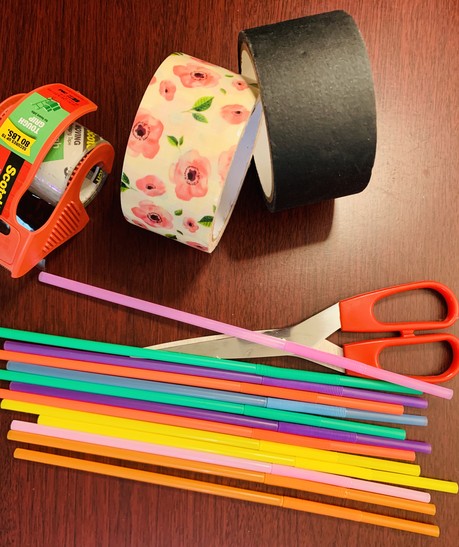
Side note: I know we’re not supposed to be using plastic straws anymore, and I don’t. I have a whole collection of silicone, metal, and glass straws. But I also have about half a bag of plastic straws lurking in the back of my cupboard that I don’t know what to do with. This seemed like the perfect solution!
The pan flute really only has a few very simple steps. Depending on what your straws look like, this could be a good time to talk to your kids about creating patterns!
Step one:
Use as many or as few straws as you would like! Create whatever color pattern you would like as well. Once you’ve done this, lay your straws in a straight line; try to keep the tops as even as possible. if you are using bendy straws, make sure to have the bendy portion towards the bottom. These will be cut off in a later step. 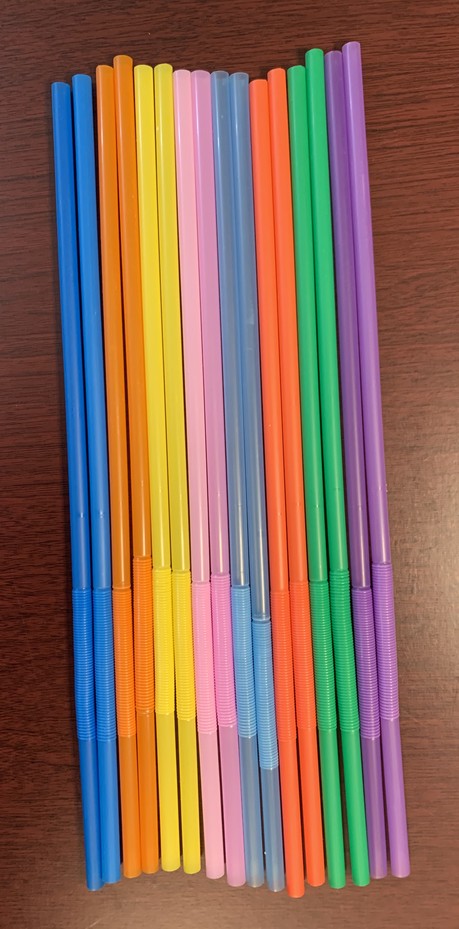
Step two:
Cut a piece of tape a little more than double the length of the width of your straws. Lay the tape across your straws towards the top but leaving a gap at the top uncovered.
When I made mine, I made the mistake of laying the tape on the table and then laying the straws on top of it. It made it much harder to line them up correctly because it was harder to move them once they were stuck to the tape. I recommend laying the tape on top of the straws instead.
Step three:
Wrap your strip of tape the rest of the way around your straws, completely encircling the straws. Your tape will overlap a little
bit. 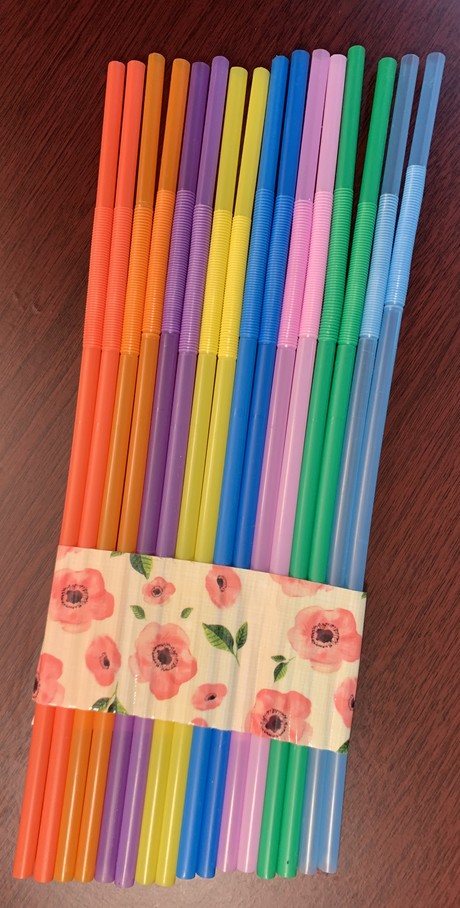
Step four:
Decide which side of your pan flute you would like to be the front. Once you’ve done this you’re going to use your scissors to cut the front from right to left on an angle. The straws on the right hand side should be the shortest and the straws on the left-hand side should be the longest. Make sure that the bendy portion of the straw is completely cut off.
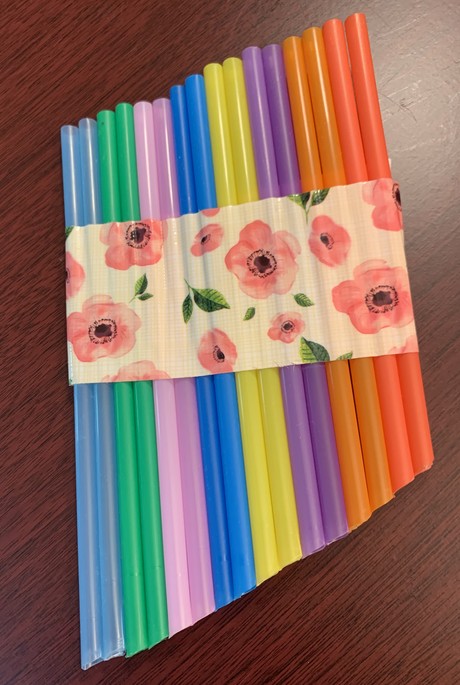
If you’re not happy with the angle feel free to continue to cut until you are.
Step five:
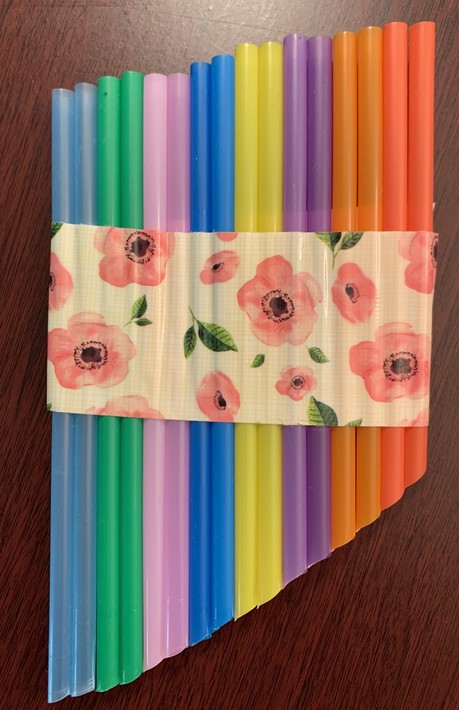
Decorate however you like!! I decided to decorate with my floral tape I also trimmed the top of the straws so they were more even

Now you can play your pan flute! When you blow into it you will notice that the sounds are different in the different length straws. It’s not a good idea to share your pan flute with others because of the spread of germs but because they are so easy to make, everyone can have their own!
Share your pan flute pictures with us! We’d love to see them! happy playing!

