My mother is a plant whisperer. No really. She once successfully brought back to life a vase of bamboo that I managed to freeze into a block of ice and then boil (don’t ask, it’s a long story).
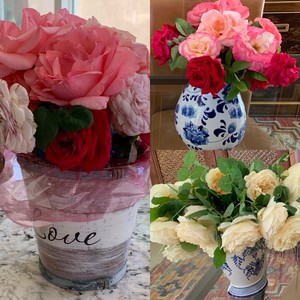
Those bamboo flourished under her care and lived for another ten years before it got too big to be inside. She has always had plants that miraculously and against all odds thrive and grow and blossom. She currently has rose bushes growing in the deserts of Arizona that could put a florist to shame.
I however have what most would call a black thumb. I have killed even the most unkillable plants. Cue the memory of all the sad dried out cacti in tiny pots on the windowsill of my childhood bedroom. However, recently I kept a mini rose bush (the kind you get in the pint size metal pot from the checkout line at Trader Joes) alive for a full year and I have a spikey succulent currently that’s still going strong (please don’t mention the two other succulents it came home with last summer…). So my confidence has been bolstered! I have decided to try my hand at a windowsill herb garden!
Being safe inside alone for a long period of time does strange things to you. One of the positive things for me is that it has reawakened my desire to do more hands on projects. I’m an actor and singer, so most of what I create is very intangible. But I’ve always been crafty. However, the pace of NYC doesn’t always allow for that to come to fruition. Now I have nothing but time on my hands.
Coupled with my internet connection and debit card, there has been a fairly steady string of DIY supplies arriving at my home (Like no one else has regrouted their bathtub to kill an afternoon!). One of the first to arrive was an herb garden kit! Why buy a kit you might ask? Did I mention that I live in NYC and things like potting soil are hard to come by at the best of times.

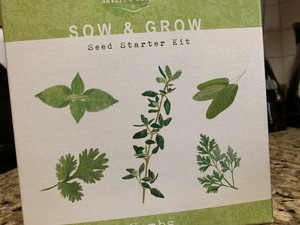
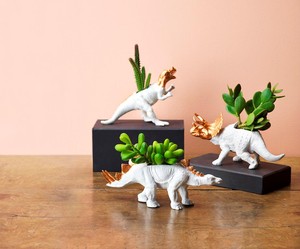
You might be cleverer than me in how to get your potting soil, and seeds can be procured from a plethora of places! All you really need is seeds of your choosing, some dirt, and a container; most anything will do, a paper cup, a soup can (Be careful of sharp edges!) an egg carton, a hollowed out dinosaur toy, whatever you have handy will work, so get creative! Mine came with paper pots, less exciting than a dinosaur planter, but a perfect canvas for a safe at home painting project!
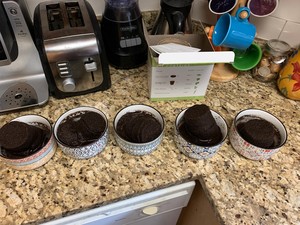
Nature is fascinating and coupled with science is downright amazing! My herb kit came with these little rock hard disks. When soaked in warm water, they expanded into these glorious mounds of soil! And yes, I did use my good bowls to grow dirt pellets. They were oddly satisfying, like those little sponge toys that came in capsules when we were kids.
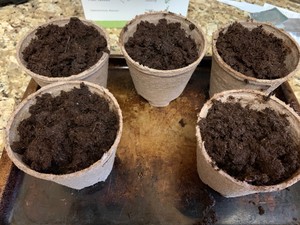
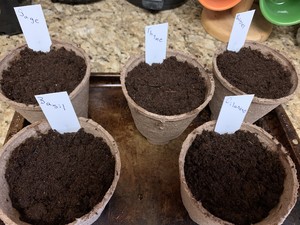
Transfer your soil into your pots and drop some seeds in. Make sure to read your seed packet to find out how deep they should be and how many per pot. Cover your seeds with soil and pat it down loosely. You may also want to label your pots if you’ve decided to grow more than one herb at a time as all pots of dirt look alike when the seeds haven’t sprouted yet. Any unused seeds can be put in the freezer in a zippered bag to be used another time. Or at least that’s what my kit said and I’m choosing to believe it.
And that’s it! It’s so simple! I did call my mom and she said that until the seeds sprout, I should water them every day just enough that they’re damp but not enough that it disturbs the soil. I’m starting to see where I may have gone wrong in the past…
Are you growing a safe at-home herb garden? We want to see it; send us photos! Good luck and happy seasoning!